Formatting options are available for several form questions across EX FormFlow - Forms.
To format text:
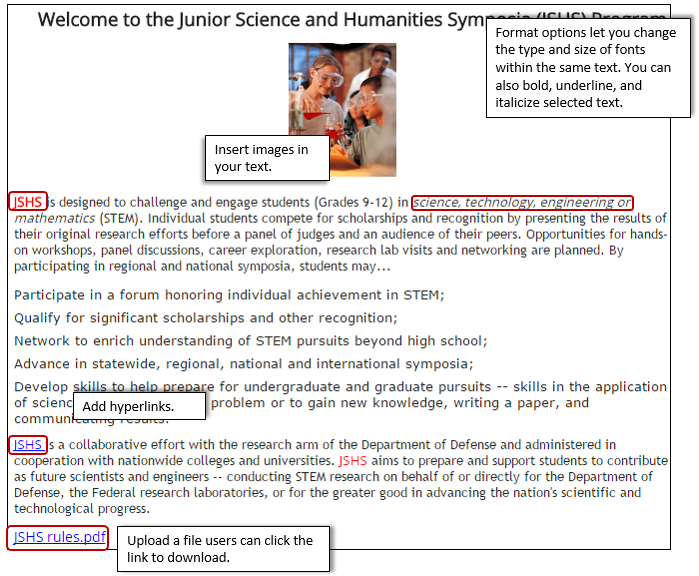
Highlight the text and select from the formatting options available (i.e., font, font size and color/highlighting, bold, italics, underline, alignment, and bullet/numbered list).
To make text into a link:
1. Select the appropriate text.
2. Click Insert/edit link icon. Insert link window appears. Example
3. In the Url field, enter where you want users to be directed when they click the link. This can be a website address, file path, or a direct file. To link to a file:
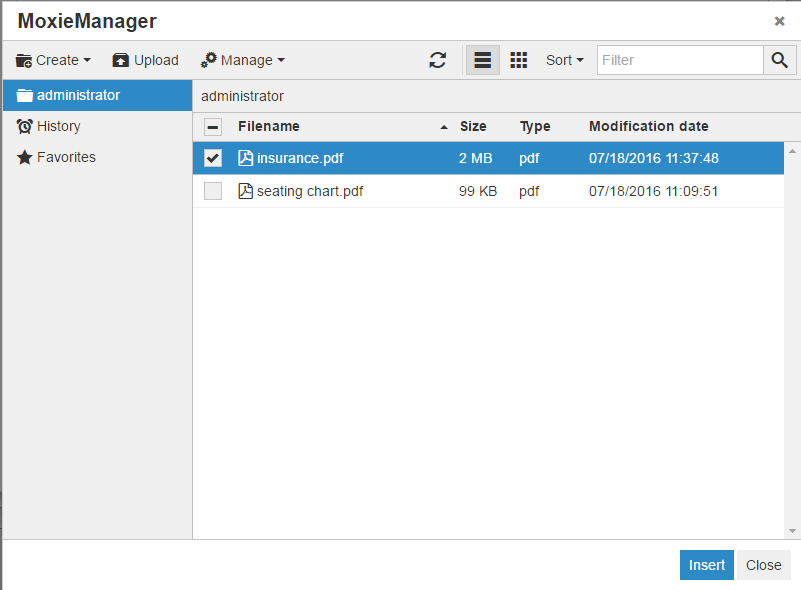
a. Click the Search icon. MoxieManager appears. Example
b. Select an existing file check box or click Upload to browse and select the file you want to link to.
c. Click Insert. MoxieManager closes and the link to the file is created.
4. The Text to display field shows the text you selected. You can update this as needed.
5. If you want to give the link a title, enter it in the Title field [what is this? cannot figure out. how does it differ from text to display? when would they want to use it?]
6. If you want a new window or tab to open when the user clicks the link, select New window from the Target drop-down.
7. Click Ok.
Images included using this method are not included in the form export. JICS handles these files outside of the normal method. If you plan to export or share your form, it is recommended you use the Image question type.
To add an image:
1. Click Insert/edit image icon. Insert/edit image window appears. Example
2. Click the Browse icon to select or browse and select the image you want to add.
3. Select an existing image file or browse and upload one. To browse and upload:
a. Click Upload. The Open window appears.
b. Browse and select the image file you want to add.
c. Click Open. Open window closes and the uploaded image file is selected.
4. Click Insert. MoxieManager closes and the image is added.
Files included using this method are not included in the form export. JICS handles these files outside of the normal method. If you plan to export or share your form, it is recommended you use the FileDownload question type.
You can upload a file that form users can access.
To add a file:
1. Click the Insert file icon. MoxieManager appears. Example
2. Select an existing image check box or upload one. To upload a file:
a. Click Upload. The Open window appears.
b. Browse and select the file you want to insert.
c. Click Open. Open window closes and the uploaded file is selected.
3. Select an existing file or browse and upload one. To browse and upload:
a. Click Upload. Open window appears.
b. Browse and select the file you want to link to.
c. Click Open. Open window closes and the uploaded file is selected.
4. Click Insert. MoxieManager closes and the file is inserted.